Settings.
Step 1: Choose Your Agent
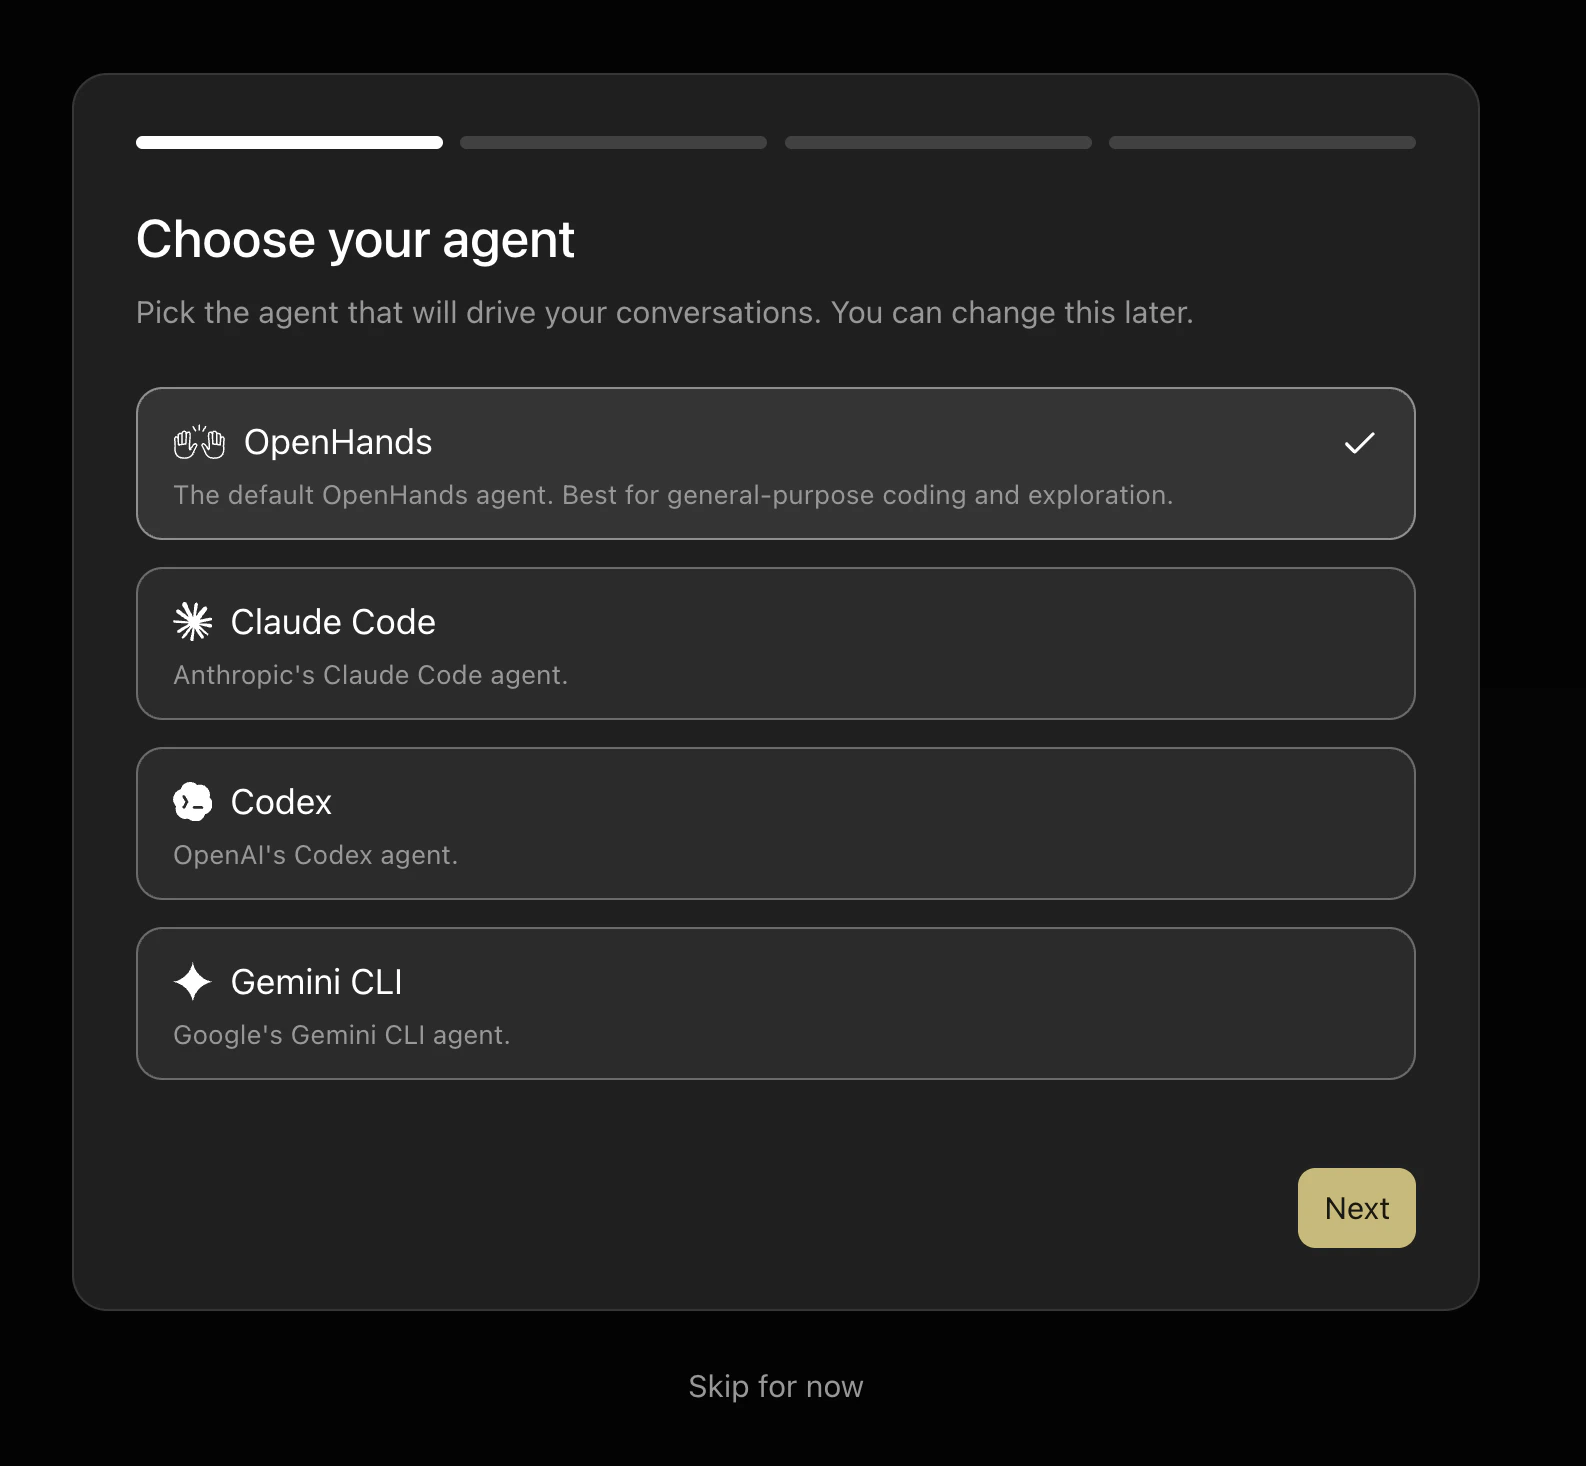
- OpenHands (selected by default) — the general-purpose OpenHands agent, best for coding and exploration.
- Claude Code — Anthropic’s Claude Code agent.
- Codex — OpenAI’s Codex agent.
- Gemini CLI — Google’s Gemini CLI agent.
Settings > Agent.
Step 2: Check Your Backend
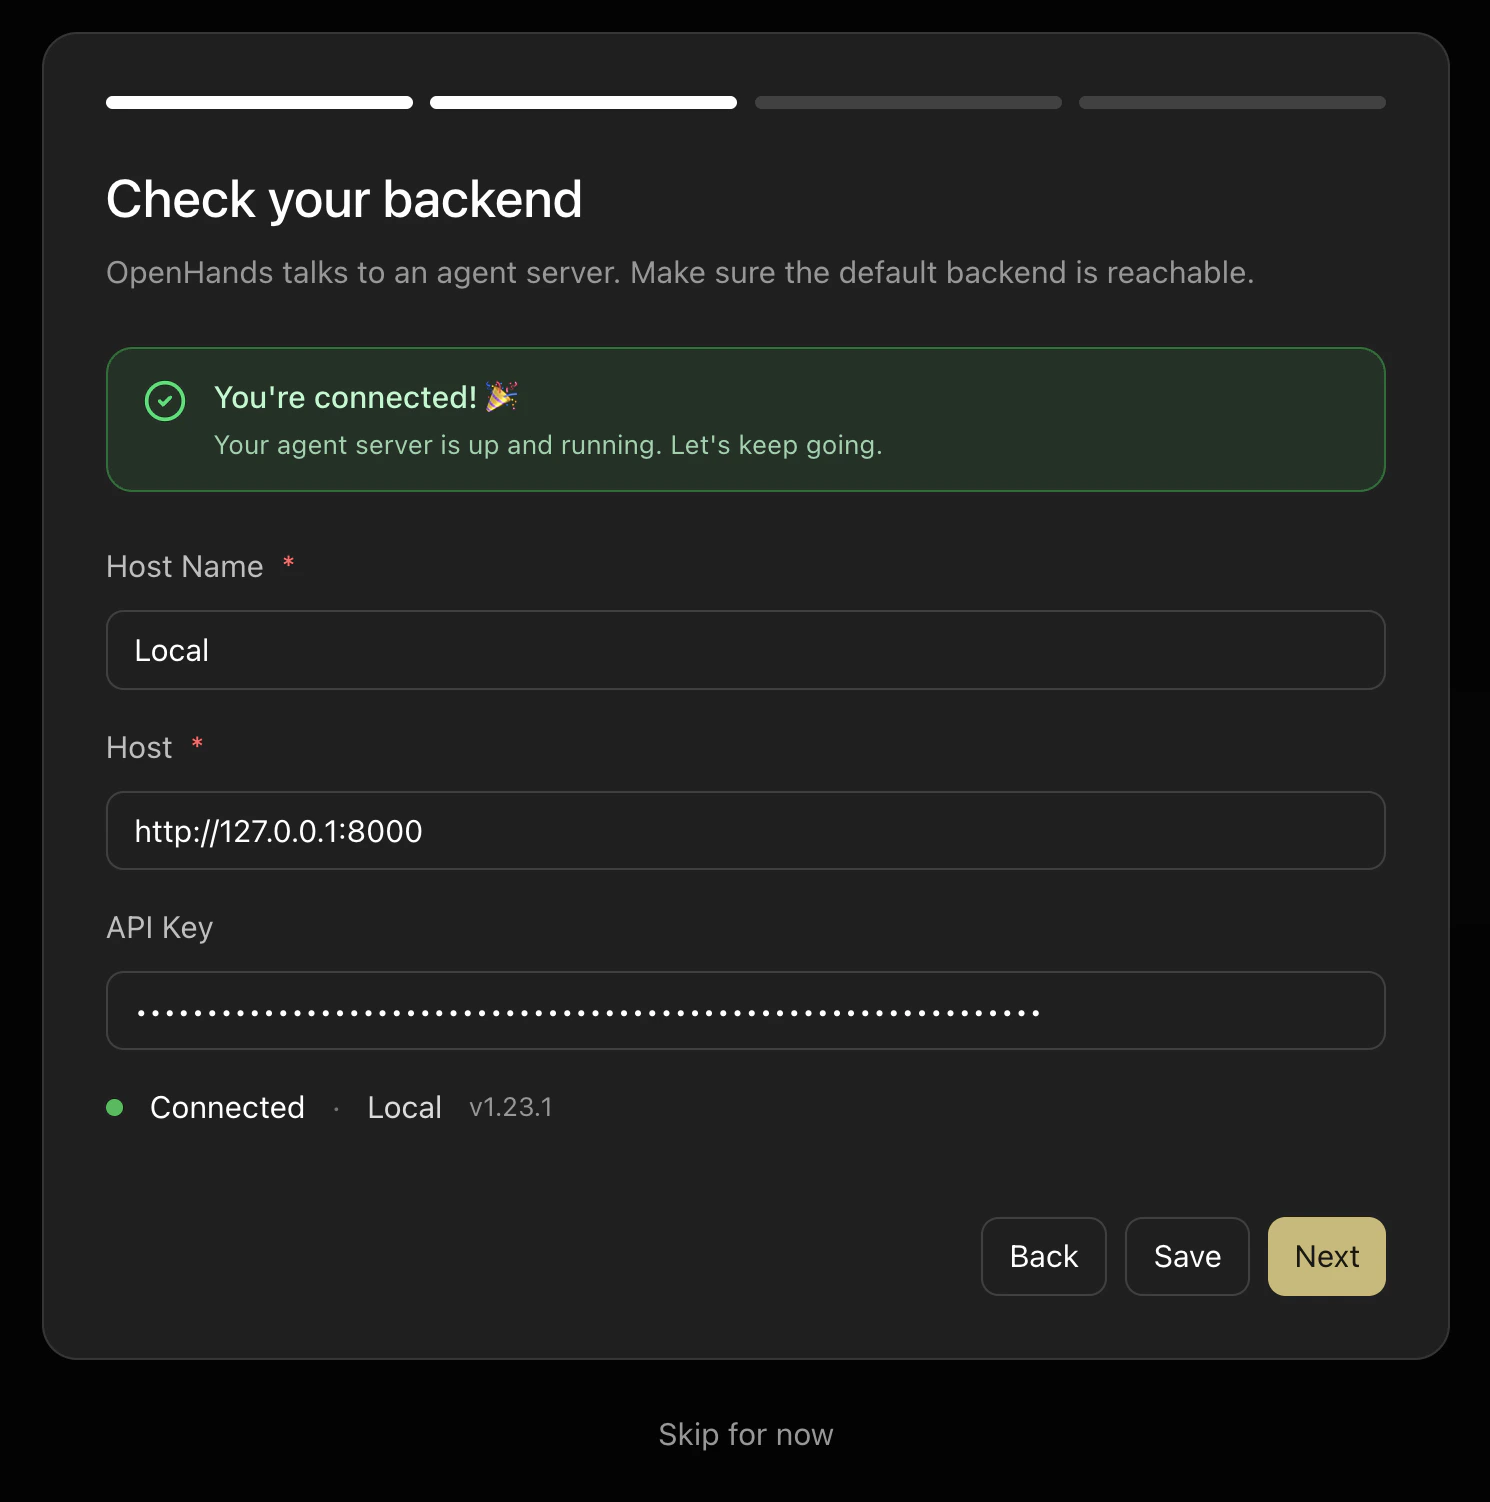
http://127.0.0.1:8000), which is ideal for working on local projects.
The setup screen shows your current backend connection status. If the server is running, you’ll see a “You’re connected!” confirmation.
Each backend entry stores:
- A display name (e.g.
Local) - A host URL
- An optional API key
To add remote or cloud backends, or to manage multiple backend connections, see Connect and Manage Backends.
Step 3: Set Up Your LLM
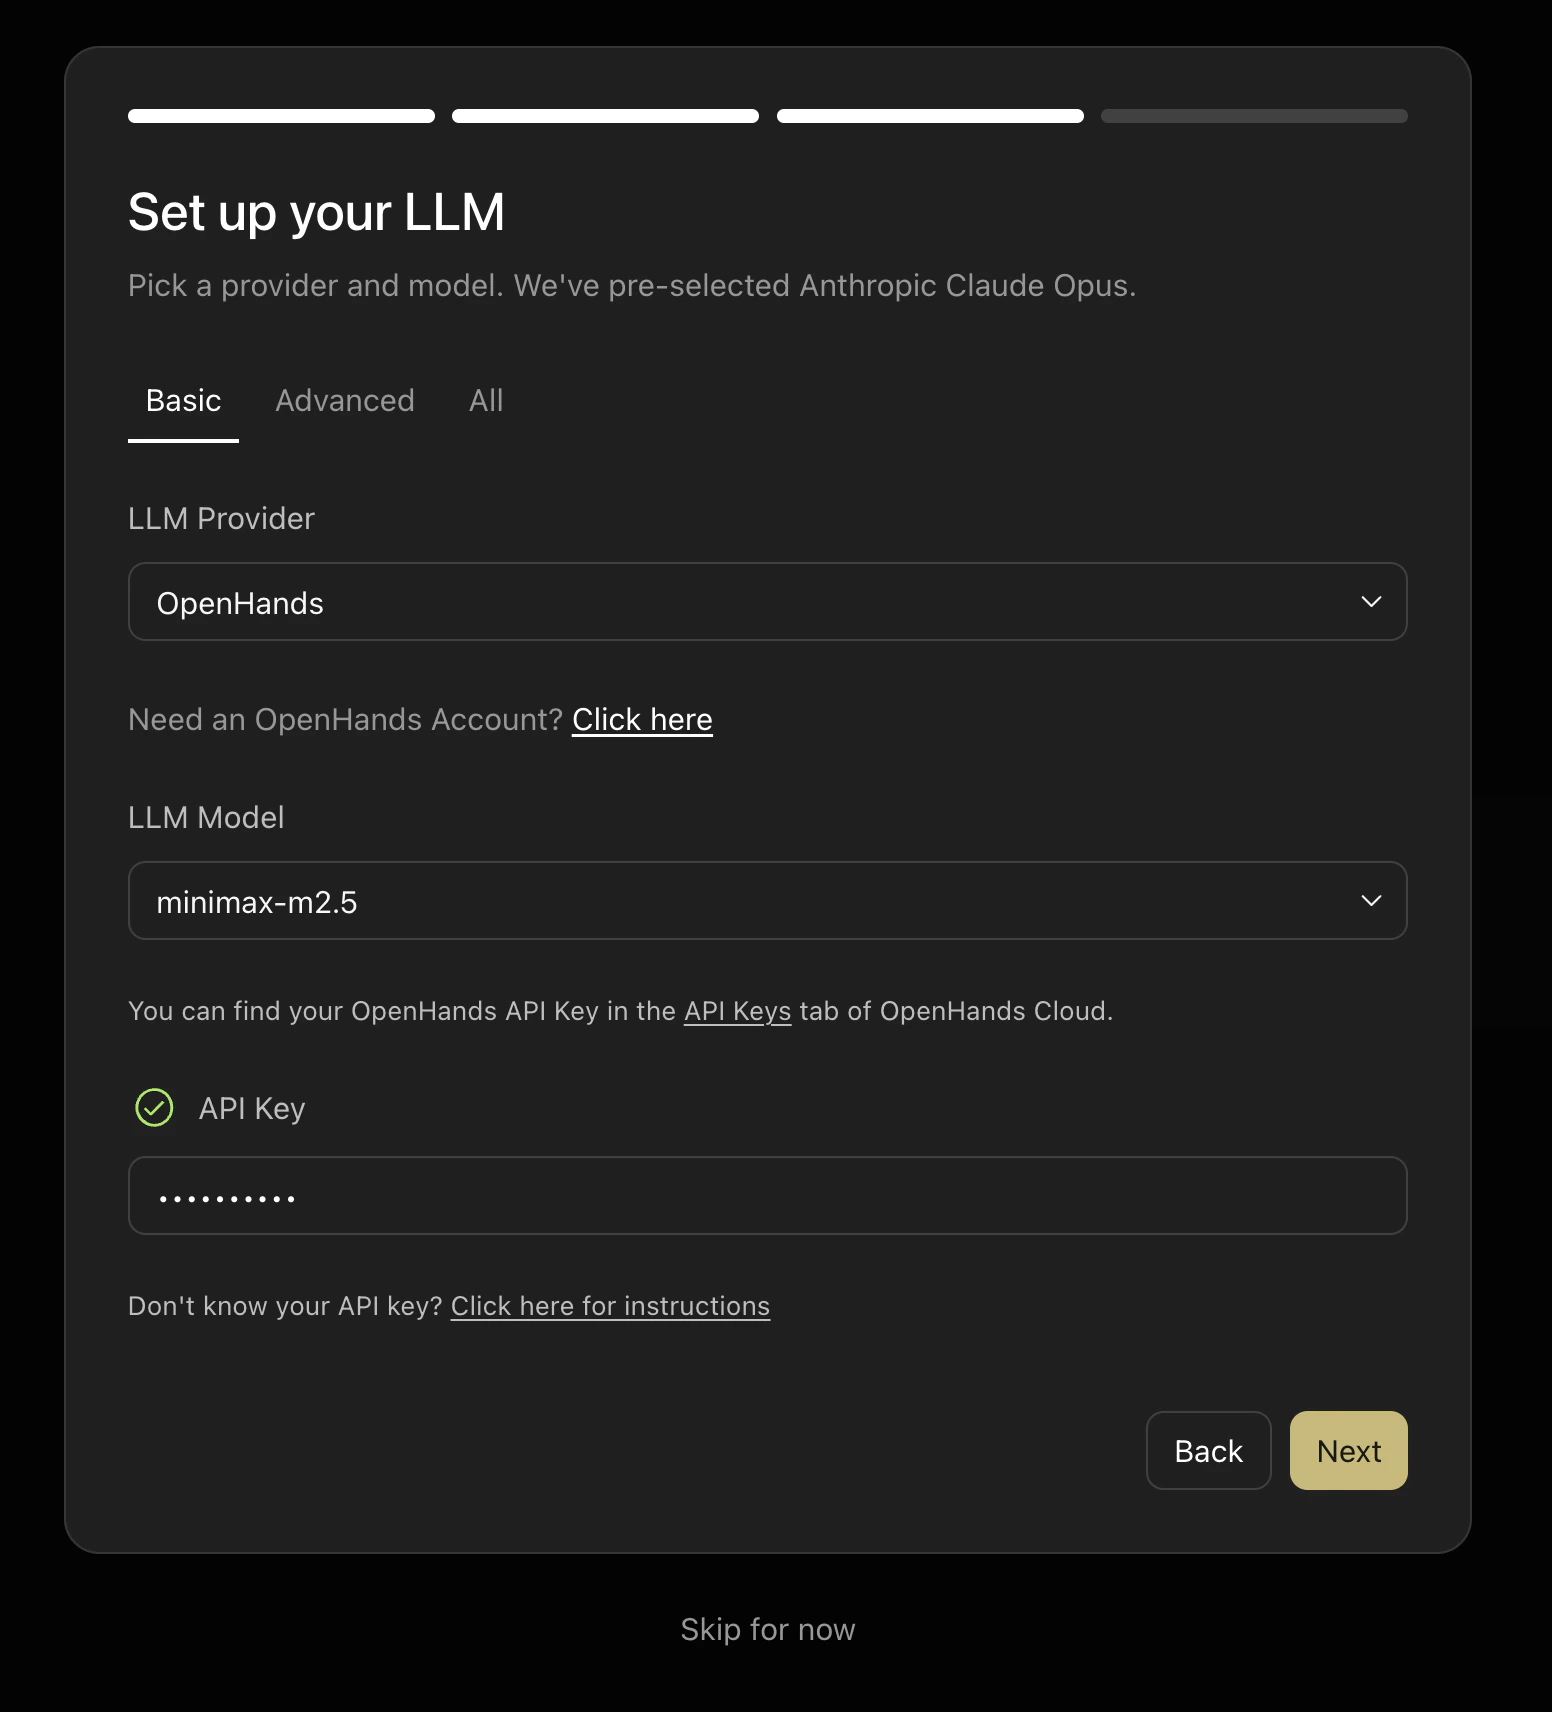
- Direct provider keys — use your own API key from Anthropic, OpenAI, Google, or any other supported provider.
- OpenHands Cloud — use an OpenHands Cloud API key to access verified models without managing provider accounts directly. Find your API key in the
API Keystab of OpenHands Cloud.
OpenHands as the provider and pre-selects a recommended model. Switch the LLM Provider dropdown to choose a different provider.
For OpenHands Agent Profiles, this LLM setup becomes the model profile the agent uses. ACP agents such as Claude Code, Codex, and Gemini CLI use their own authentication and model configuration.
Step 4: Start From a Proven Workflow
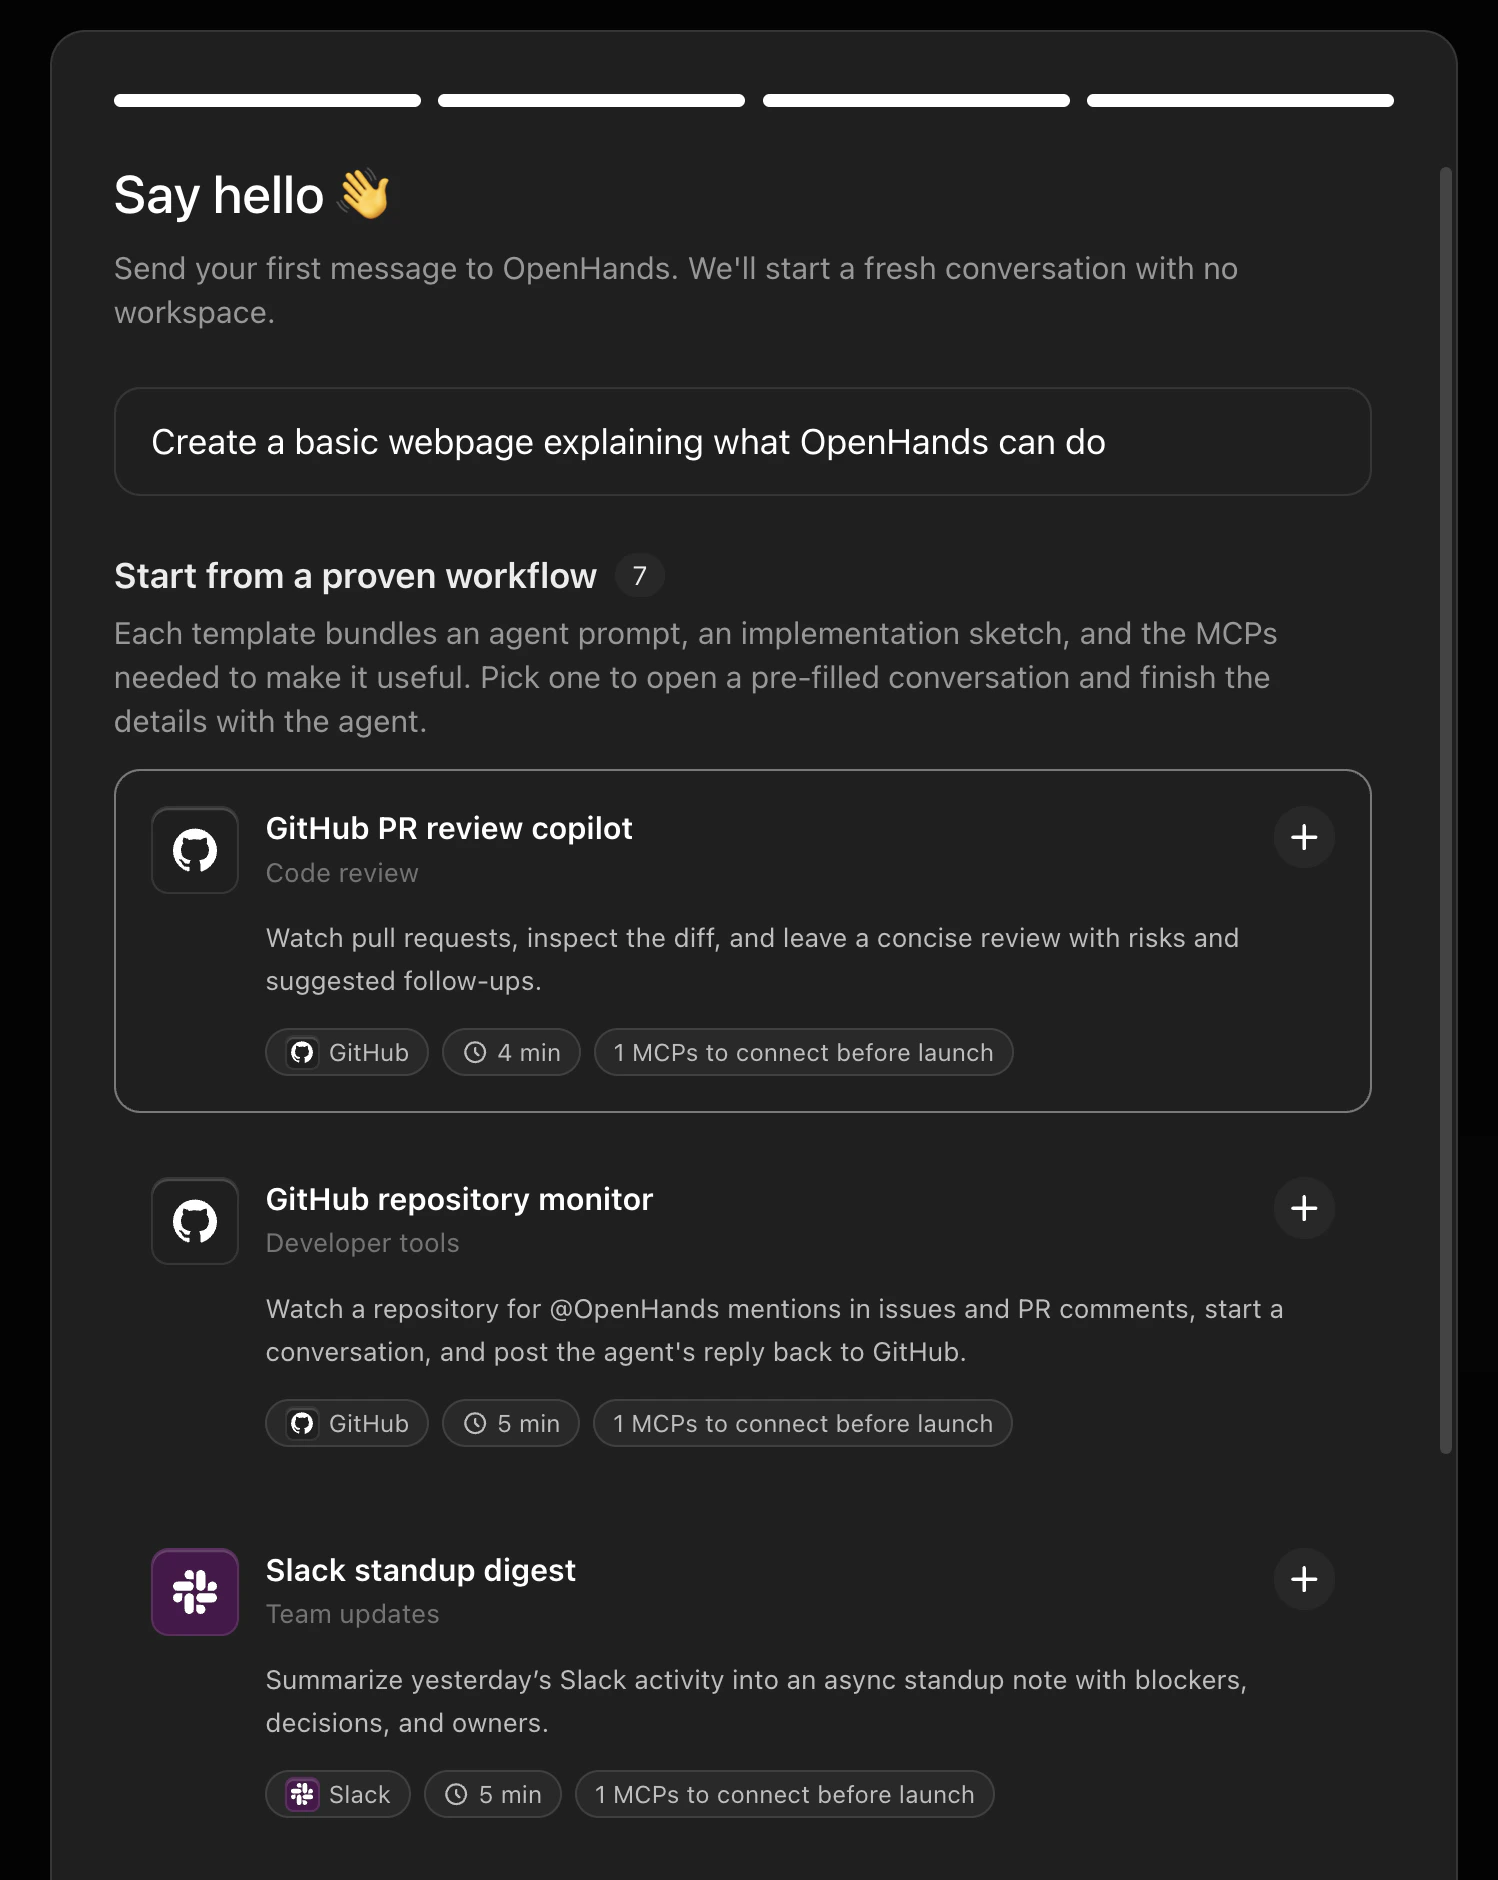
- GitHub Repository Monitor — watch a repository for
@OpenHandsmentions and respond automatically. - Slack Standup Digest — summarize yesterday’s Slack activity into an async standup note.
Automate view at any time. See Pre-built Automations for the full list.